How to Grow Pea Shoots Indoors
Grow sweet, crunchy pea shoots in a tray on your windowsill, all year round. Which peas to use, soaking, sowing, watering and cutting for a second crop.
Quick answer
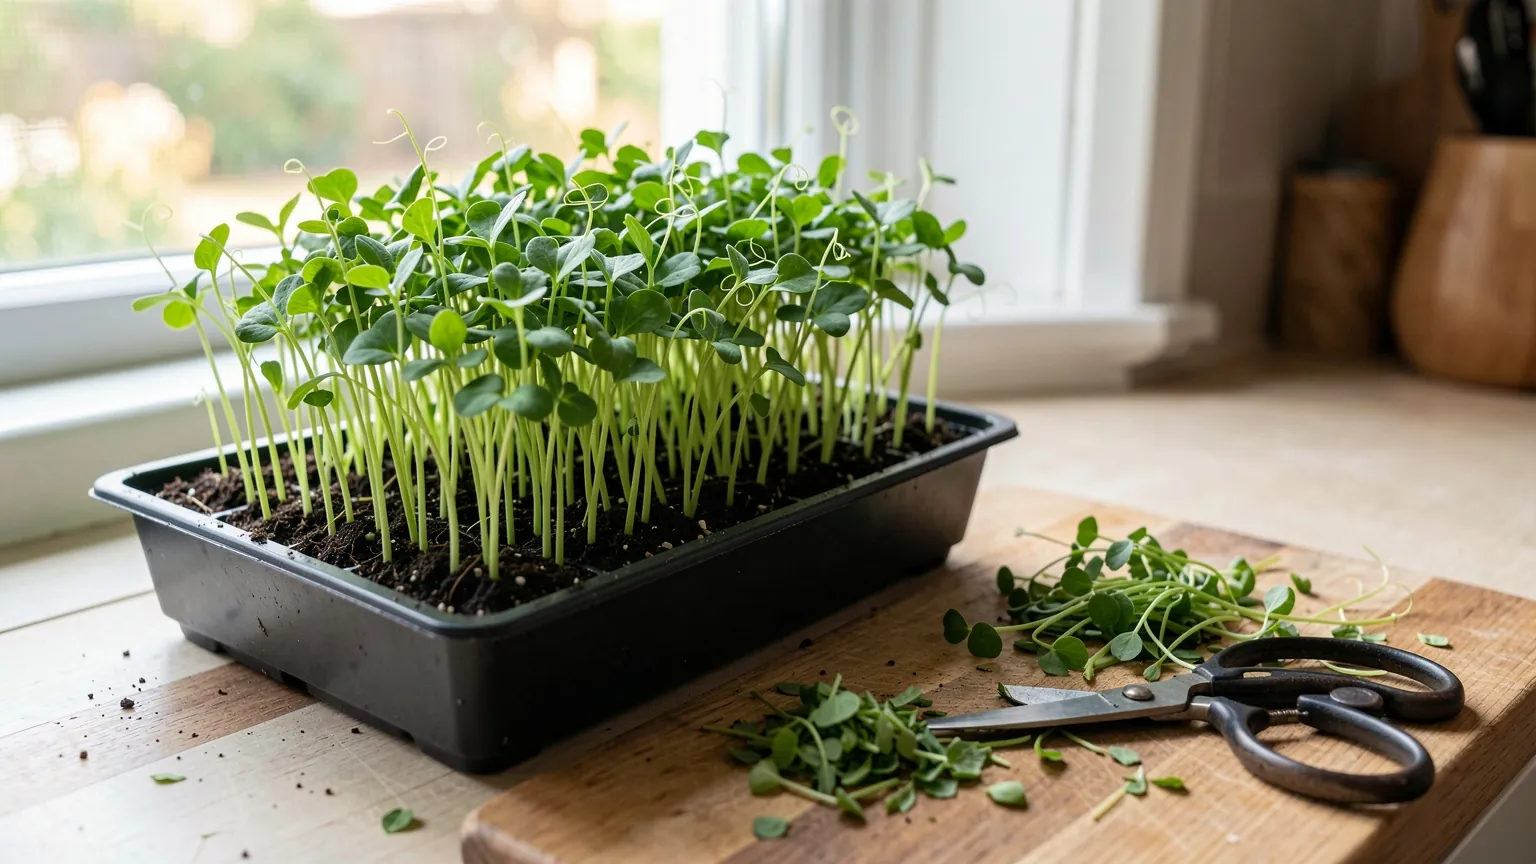
Pea shoots are one of the easiest crops to grow indoors. Soak dried peas in water overnight, then sow them thickly, almost touching, in a tray of moist compost about 5cm deep. Cover them lightly, keep the compost moist and put the tray on a bright windowsill. The shoots are usually ready to cut in about two to three weeks, when they are around 8–10cm tall, and they will often regrow for a second cut.
Growing note: Only use edible peas for pea shoots. Never use sweet pea seed: sweet peas are an ornamental flower and are poisonous.
Quick facts
| Best for | Kitchen windowsills, flats and homes without outdoor space |
| Difficulty | Very beginner-friendly |
| Container | A tray or pot at least 5cm deep, with drainage holes |
| Light | A bright windowsill |
| When to sow | All year round indoors |
| Best harvest | About 2–3 weeks after sowing, when the shoots are around 8–10cm tall |
Why pea shoots suit a tiny garden
Pea shoots are the young stems, leaves and tendrils of pea plants, cut long before they flower. They taste sweet and fresh, like raw peas, and they add crunch to salads, sandwiches and stir-fries. Bags of them are expensive in the shops, but a tray at home costs very little.
They need no outdoor space at all. A windowsill and a shallow tray are enough, and they grow through autumn and winter when there is little else to harvest. Peas are large seeds, so they are easy to handle and quick to germinate, which makes them a good first crop for children and beginners too.
A standard seed tray gives several handfuls of shoots. For a steady supply, sow a new tray every couple of weeks.
Which peas to use
You do not need special seed. Any edible pea can be grown for shoots, but some choices are cheaper and better than others.
| Type | What to expect |
| Dried peas from the supermarket | The cheapest option. Whole dried peas, such as marrowfat peas, usually germinate well. Do not use split peas, which will not grow. |
| Seed sold for pea shoots | Chosen for leafy shoots and plenty of tendrils, and sold in larger packets for sowing thickly. |
| Leftover garden pea seed | Works well and is a good way to use up an opened packet. Check the packet and avoid any that is treated with fungicide. |
If you are trying supermarket peas for the first time, sow a small pot as a test. If most of them sprout within a week or so, the rest of the pack is worth using.
What you need
- A tray or pot at least 5cm deep with drainage holes. A deeper container holds moisture longer and gives better regrowth.
- A drip tray without holes, to protect the windowsill.
- Compost. Peat-free multi-purpose or seed compost.
- A bowl for soaking the peas.
- Sharp scissors for cutting.
How to sow pea shoots
- Put the peas in a bowl, cover them with plenty of cold water and leave them to soak overnight. They will swell noticeably.
- Drain and rinse the peas. Throw away any that are broken.
- Fill the tray with compost to about 1–2cm below the rim and water it so it is evenly moist.
- Scatter the peas over the surface in a single layer, close together so they are almost touching.
- Press them gently into the compost and cover them with a thin layer, about 1cm, of compost.
- Water gently and put the tray on a bright windowsill. The shoots should appear within about a week, sooner in a warm room.
Light and warmth
Pea shoots grow at normal room temperature and need good light once they have emerged. In weak light they become thin, pale and floppy.
- Use your brightest windowsill, especially between October and February.
- Turn the tray every day or two so the shoots grow straight.
- On very cold nights, move the tray off a windowsill behind closed curtains.
- Keep the tray away from direct heat from a radiator, which dries the compost out.
Watering
Keep the compost moist but not waterlogged. Check it every day by touching the surface, and water when it starts to feel dry. Pouring water into the drip tray and letting the compost soak it up, then tipping away the rest, keeps the shoots dry and avoids flattening them.
Pea shoots do not need feeding. The pea itself holds enough food for the first few weeks of growth.
Harvesting pea shoots
Start cutting when the shoots are around 8–10cm tall and have a few sets of leaves. This is usually two to three weeks after sowing, or a little longer in midwinter. Taste a few as they grow. Young shoots are the most tender, while taller shoots can become stringy.
- Cut each shoot with scissors just above the lowest set of leaves, leaving a short stem with a leaf or two on it.
- Cut only what you need for a meal. The rest will keep in the tray for a few more days.
- Rinse the shoots and pat them dry before eating.
- Store any spare shoots in a covered container lined with kitchen paper in the fridge, and use them within a few days.
Getting a second cut
Because you leave a little leaf on each stem, many shoots will regrow from the base. Keep the tray watered and on the windowsill, and you can usually take a second, smaller cut a couple of weeks later. After that, growth usually slows and the shoots become tougher, so add the old compost and roots to a compost heap or bin and start a fresh tray.
Growing pea shoots outdoors
From spring to early autumn, pea shoots can also be grown in a pot or trough on a balcony or patio, sown in the same way. Mice and birds love peas, so outdoor trays may need covering with netting. If you want to grow peas for pods, see how to grow peas in containers.
Common problems
Peas not sprouting
Old peas, split peas or compost that dried out are the usual causes. Test a small pot before sowing a whole tray, and keep the compost moist until the shoots appear.
Mouldy or rotting peas
Peas left soaking for too long, or sitting in waterlogged compost, can rot. Soak them overnight only, use a tray with drainage holes and water a little less. A musty smell is a sign of too much water.
Thin, pale, leaning shoots
This means the shoots need more light. Move the tray to a brighter window and turn it regularly.
Tough, stringy shoots
The shoots have been left too long. Cut them younger, when they are around 8–10cm tall.
A simple pea shoots plan
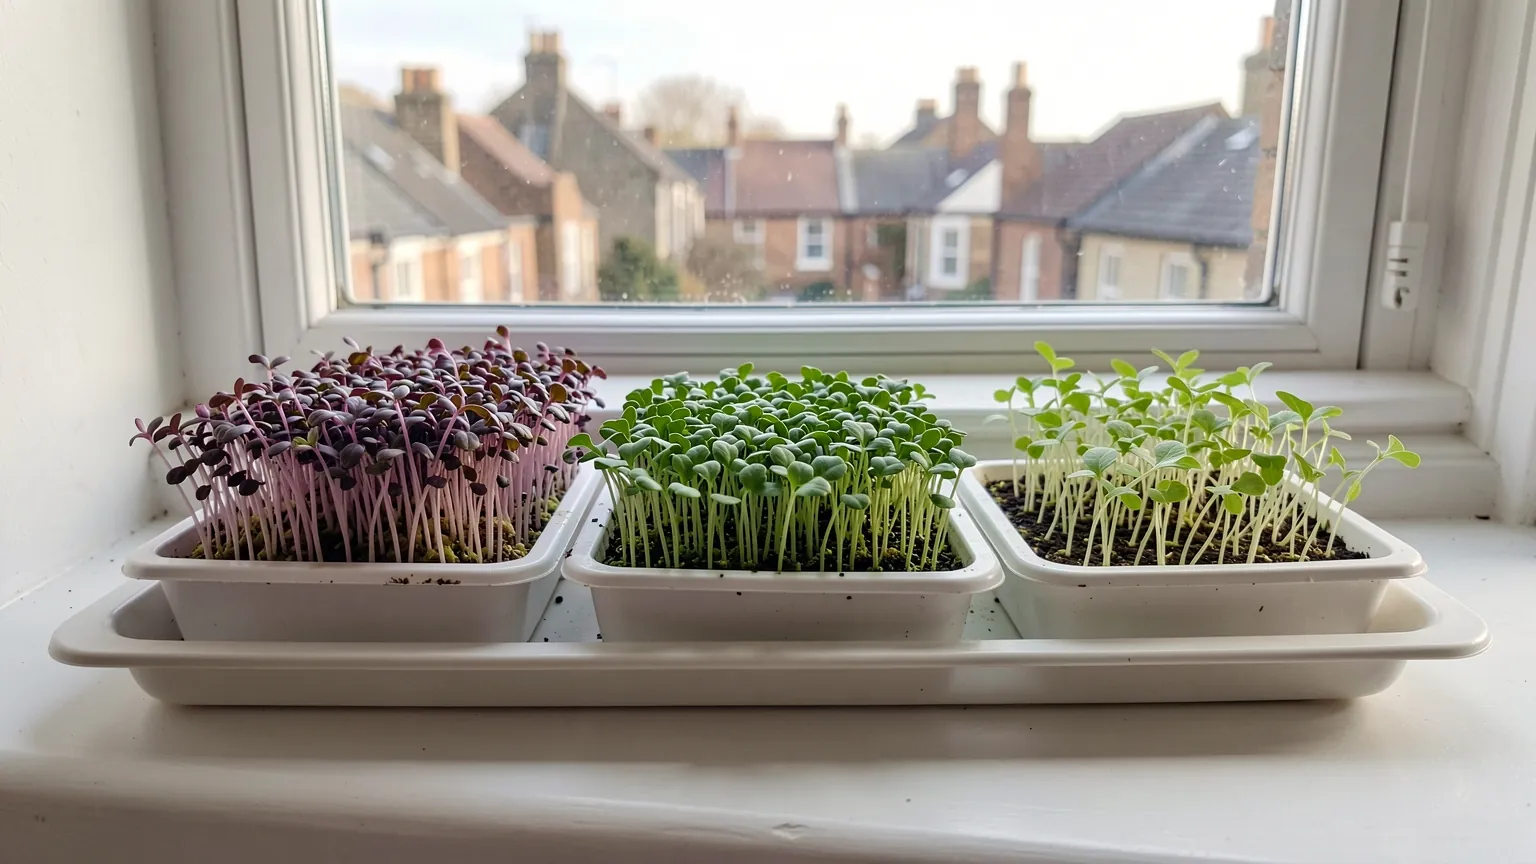
Soak a handful of dried peas tonight and sow them in a 5cm-deep tray tomorrow. Cut your first shoots in two to three weeks, take a second cut a couple of weeks later, and sow a fresh tray every fortnight for a steady supply. Pair them with a tray of microgreens and a pot of windowsill herbs for fresh greens all winter.
Pea shoots are one of the best windowsill crops in what to sow in October and what to sow in November.
Find crops for your windowsill
Use the free growing tools to see which crops suit your windowsill, balcony or patio.
FAQs
Can I grow pea shoots from supermarket dried peas?
Yes. Whole dried peas, such as marrowfat peas, usually grow well and are the cheapest option. Split peas will not grow.
Do I need to soak peas before sowing pea shoots?
Soaking overnight is not essential, but it helps the peas germinate faster and more evenly.
How long do pea shoots take to grow?
Usually about two to three weeks from sowing to the first cut, a little longer in a cool room or in midwinter.
Do pea shoots grow back after cutting?
Often, yes. Cut above the lowest leaves and most shoots will regrow for a second, smaller harvest.
Can I grow pea shoots without compost?
Pea shoots can be grown on damp kitchen paper or a growing mat, but compost holds moisture more evenly and usually gives stronger shoots and better regrowth.
Growing note: Pea shoots are about the quickest, cheapest way to grow something you can eat indoors. Soak, sow thickly, give them light and cut them young.